This tutorial will cover basic bot spawning in your levels.
Pathing[]
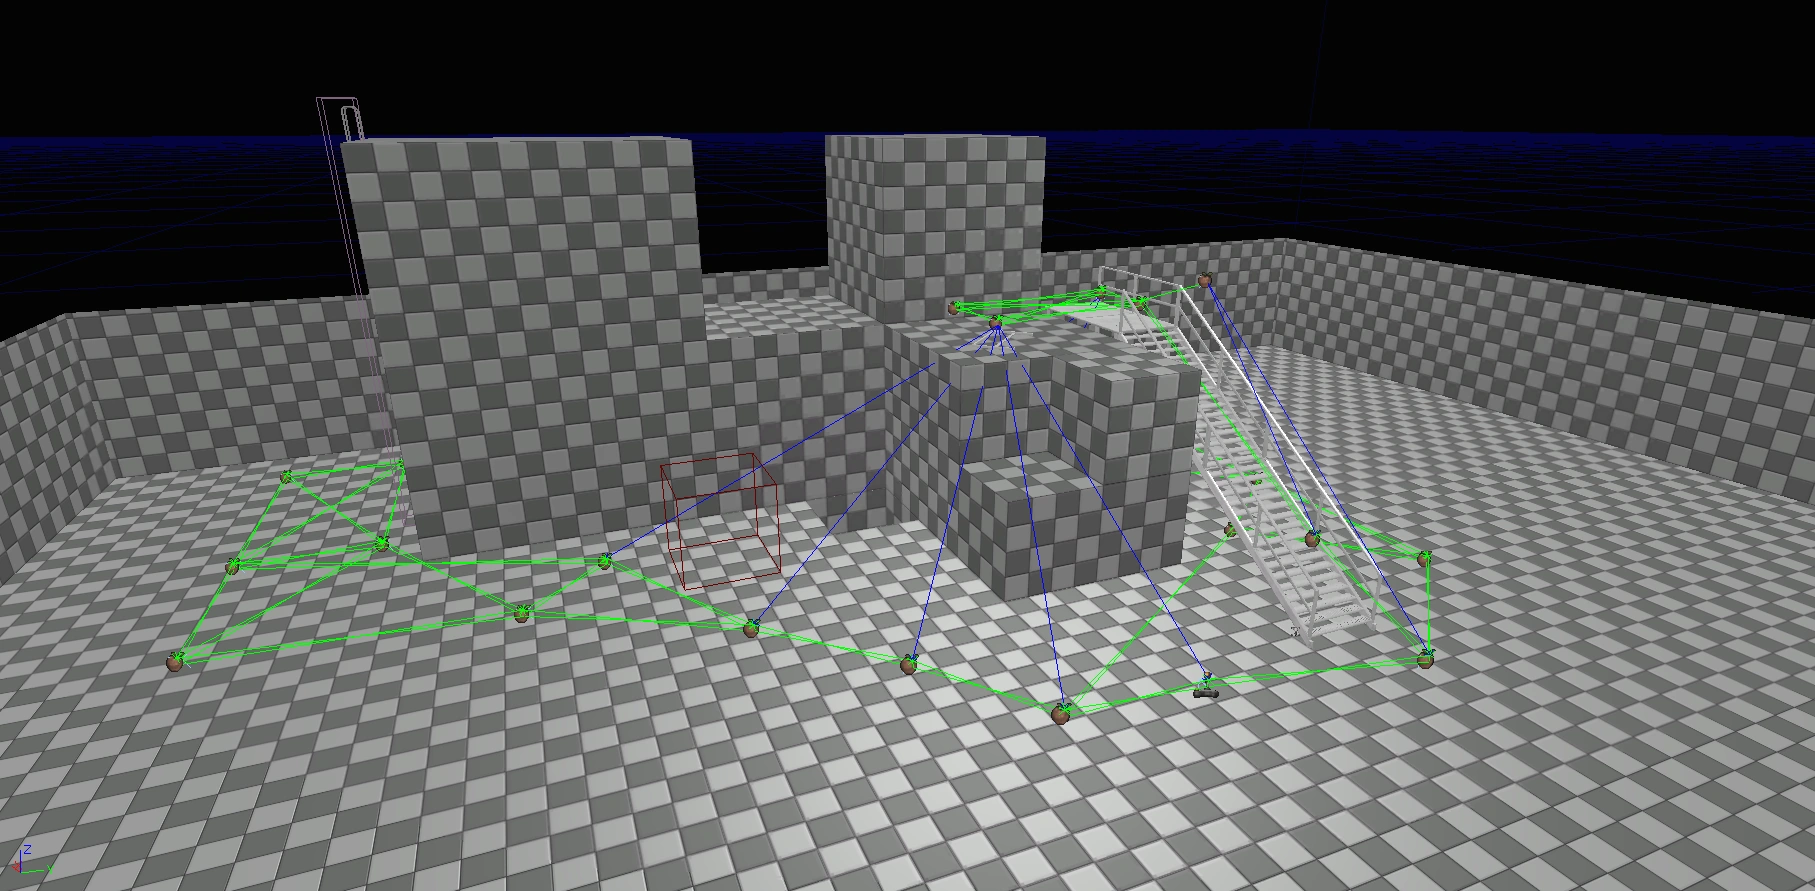
Since the only bots that use NavMesh in Mirror's Edge are the Pursuit Cops and Celeste, unless you want to only use these bots, we are going to have to make sure your level has path nodes. You can place path nodes by right clicking in your level, then navigating over to the Add Actor sub menu, and then clicking on the Add Pathnode option.
Note: You may want to turn on grid snapping for pathnodes, as it's easier for the bot to move arround in an environment with nodes that have less eratic coordinates.
Bots[]
Step 1[]
Open up Kismet, make sure you have the event which spawns in the bots set up. Right click, New Action, AI, then click on Takedown Bot Factory.

You will get this node.

Step 2[]
Now we'll connect an event which spawns the bot. We'll then also need to make sure that our bot has a spawn point, click on a path node of choice in your level, then right click in the kismet window, then click on the New Object Var Using "actor name". Connect the new variable to the Spawn Point connector. Now your bot will spawn in.

Step 3[]
Now you can change the properties of your bot.

A - ChaseAI are the pusher bots that you see in the main story that can not be disarmed from the front and drop no ammunition if you manage to disarm them.
B - Is the Bot type you want to spawn in. AITemplate_PursuitCop, and AITemplate_Celeste use navmesh instead of path nodes.
C - The bot knows that the player is in the level. It traces a ray towards the player and if it's not obstructed the bot will begin combat. I suggest this should always be ticked and stealth to be handled through a set of events.
D - Gives the bot runner vision glow around them. Used in the story when you are supposed to fight through the enemy.
E - This does not need be used. Used to override the weapon with which the template spawns them in. Please note that you will need to apply additional animations to your bot.
F - The ammo count the weapon has when the bot dies and the player picks up the weapon.
G - Is a timed delay before the bot is spawned. Set this to 0.
Step 4[]
Now if you want to target your bot, you will need to create a new empty variable. Right click, New Variable, navigate to the Object sub menu and then click on Object.

Connect it to the Spawned 1 connector. Next we will add a node which mutes the bot. It will prevent the bot making random radio chatter noises or screaming when the player is spotted (it is much better if you control what the bots say through Kismet for cinematic purposes). Right click, New action, AI and then Td Mute/Unmute AI.

Connect this to the Spawned 1 connector of your bot.

Extra Tips[]
And you're done. You can target your bot by the empty object variable.

In this example, the bot screams, "lock down the area," once he spawns in.
